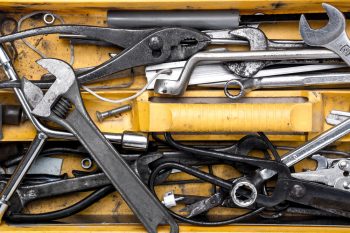
When you need a tool and can’t find it, then you realize how important toolbox organization is! Let’s talk toolbox organization tips you can really use.

The first step to toolbox organization is to remove all the tools from your toolbox. Thoroughly clean the toolbox, and use paint thinner to clean the thickest of grease if necessary. Acetone is a great thing to use to clean and polish your tools, but be sure to use it in a well-ventilated area. As you go, check your tools for any that are broken and get rid of those in addition to the tools you don’t need. Once the toolbox is freshly cleaned and you’ve decided on the essential tools to keep, you’re ready to organize!

Before you repack it, assess the condition of your toolbox. Get an additional one if you need extra space. Purchase a new one if the old toolbox has really seen better days. This Stanley Structural Foam toolbox is a great option, and it’s an Amazon Best Seller.
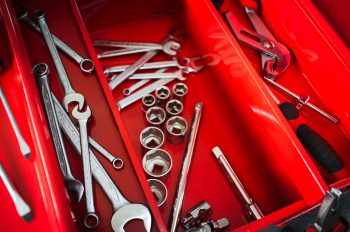
There isn’t just one right way to organize a toolbox. The easiest and most common way is to organize it in a like-by-like fashion. Pile all your like tools together–screwdrivers in one pile, wrenches in another, and so on. After your tools are divided up, decide which spaces in your toolbox will fit each pile best. You can also sort and store your tools by function. It can also handy to have a small toolbox stocked for specific projects, such as one for plumbing jobs or one for automotive work. Keep in mind how much you use each tool set. If you frequently need a hammer or screwdriver, keep those in the most accessible areas of your toolbox.
If your toolbox tends to attract a lot of grease, try this hack: Cut a piece of cardboard to fit the bottom of the main compartment of your toolbox, and each tray. The cardboard acts as a liner, which is easily changed out when it gets too dirty.
Now you’ve got an organized toolbox to be proud of!


Leave a Reply