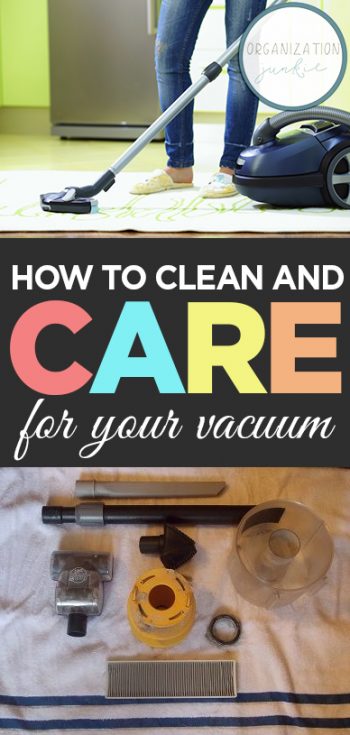
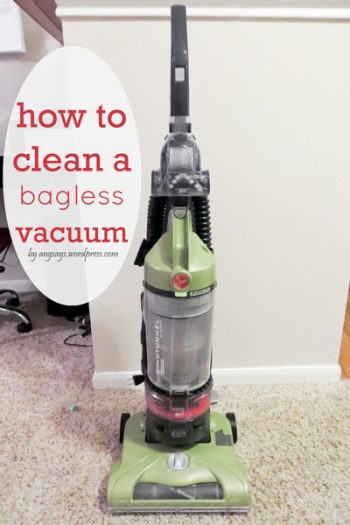
If your vacuum cleaner has really started to suck lately — and not in a good way — it could be a simple issue. Don’t run out and spend the money on a new vacuum until you’ve exhausted the possibility that yours just might be dirty. Here’s how to clean your bagless vacuum and get it running like new again. Chances are, cleaning it up will go a long way to restoring the cleaning power it once had.
1. The Dirt Bin
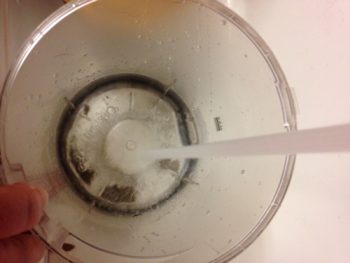
This is what you empty regularly anyway — or at least you should. Remove the dirt bit and empty it into the trash can, just like you normally would. Then instead of putting it back into your vacuum, take it right to the sink and wash it. If you have a larger laundry sink use that, but your kitchen sink will also do. Make sure you remove any inner containers that you can. Basically take it apart as far as it’ll go, and give every piece of it a good hot rinse. If needed, use a mild soap or all-purpose cleaner. Scrub with a rag or brush if you need to to loosen anything that’s stuck. Once it’s clean, set the bin and its parts aside to dry.
2. The Filter
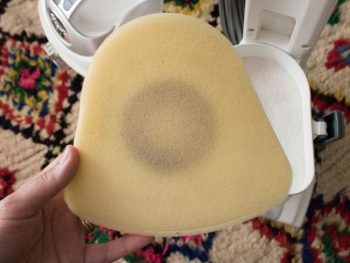
Next, remove the filter from your vacuum. It might be some kind of felt-like fabric or foam encased in some plastic component. It should be easy to remove, but if you have any doubts, consult your owner’s manual (which you most certainly kept in a safe place, right?) You may have more than one filter. After they’re out, give them the same hot wash treatment you used on the dirt bin. If you filter can be squeezed, do this many times under the running water until the water runs clean. If your filter is replaceable, again consult your manual on how often to replace it and where you can buy one. But chances are, you can get away with washing it for a while before you have to replace it with a new one.
3. Other Central Parts
Depending on your vacuum, yours may have other washable parts. Hoses, cyclone pieces, and other pieces that aren’t part of the motor may well be washable. Again, go back to your manual to see what can be taken apart to wash and what should be left alone. If there are parts you can’t get to or your manual advises you to leave alone, you’re better off to take it to a certified repair shop for a good deep cleaning.
4. Brushes
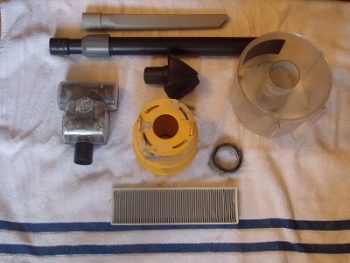
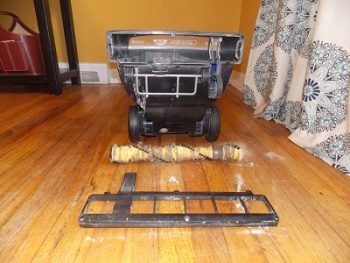
Your brushes are probably clogged up and tangled with air and other nasties. It’s a pretty straightforward process to remove these parts and clean them out. Your vacuum may have even come with a cleaning tool to make the job easier. For me, I sometimes get the scissors out and carefully cut the hairs so I don’t have to detangle everything. It’s much easier this way. Your brush assembly probably looks something like this.
5. Finishing Up
Now that the main parts are clean, check your air passages for clogs. Mine gets clogged with dog hair. You might need a long bottle brush or something else to push through it. Other than that, just make sure every part you have washed is completely dry before putting everything back together. Now, see how much cleaner your floors will get next time you vacuum! Now, what to tackle next on your to-do list?
Looking for my sources? No worries, they’re right here:
The Dirt Bin
The Filter
Other Parts
Brushes
Finishing Up

Leave a Reply