
If you love a clean bathroom or kitchen like I do, you probably consider soap scum your nemesis. Over time, you might not even notice the buildup — until it gets really bad. You’re probably wary of the problem in places like the shower or your bathroom sink, but soap scum can just as easily build up on your faucet handles. Happily, even if your handles are that clear acrylic or plastic, you can get rid of soap scum in a flash. No more foggy look!
1. The Tools
First off, you’ll need a few handy tools to get the job done. But don’t worry…you probably have everything you need. Just grab a flat-headed screwdriver, or even another tool with a thin edge. A butter knife might do fine if that’s what you have. Next, you’ll need some hot, soapy water, an old toothbrush, a rag, and a few cotton swabs.
2. Remove the Cap
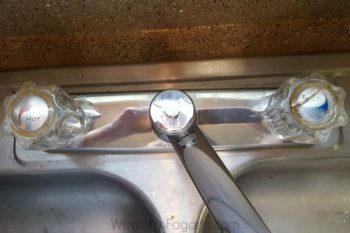
Start by filing up your sink (or one half of it, if it’s your kitchen) with hot, soapy water. Use whatever soap or general purpose cleaner you like. Then take your screwdriver or other tool and gently remove the cap off the first knob. The cap is the little round metal or plastic part that sits in the top surface of the handle…not the handle itself. Some faucets may have a little screw or something that holds this part on. You’ll need to unscrew that first, if that’s how your faucet is, then gently pry this piece off.
3. Take Off the Handle
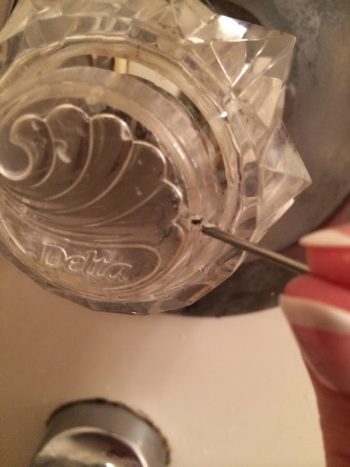
Now that the cap is off, you’ll need to use your screwdriver to undo the screw underneath. Take out the screw and put it in a little bowl so it doesn’t get lost. Then you can lift the handle straight off. Following the same process, remove any more handles you’ve got, and drop the handles and the caps right into the soapy water.
4. Scrub
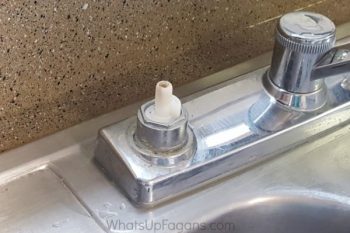
Now that the stem is exposed in each handle, you can grab your old toothbrush and scrub it with the soapy water, vinegar, or your own favorite cleaner. Once those are clean, take your handles and caps and clear away any soap scum or debris with a rag. All that yucky stuff should be loosened up by now from the soaking process. If necessary, use the old toothbrush again. There are also bound to be screw holes and other spots where even your toothbrush can’t reach. This is where you reach for a couple of cotton swabs to get everything out.

5. Dry & Replace
Once everything is clean, dry everything thoroughly or let all the parts air-dry completely. Then you can put things back together.


Leave a Reply