There is nothing worse than having your craft room be an unorganized disaster! Luckily for you, I have 30 ways to organize a craft room that will help you out!
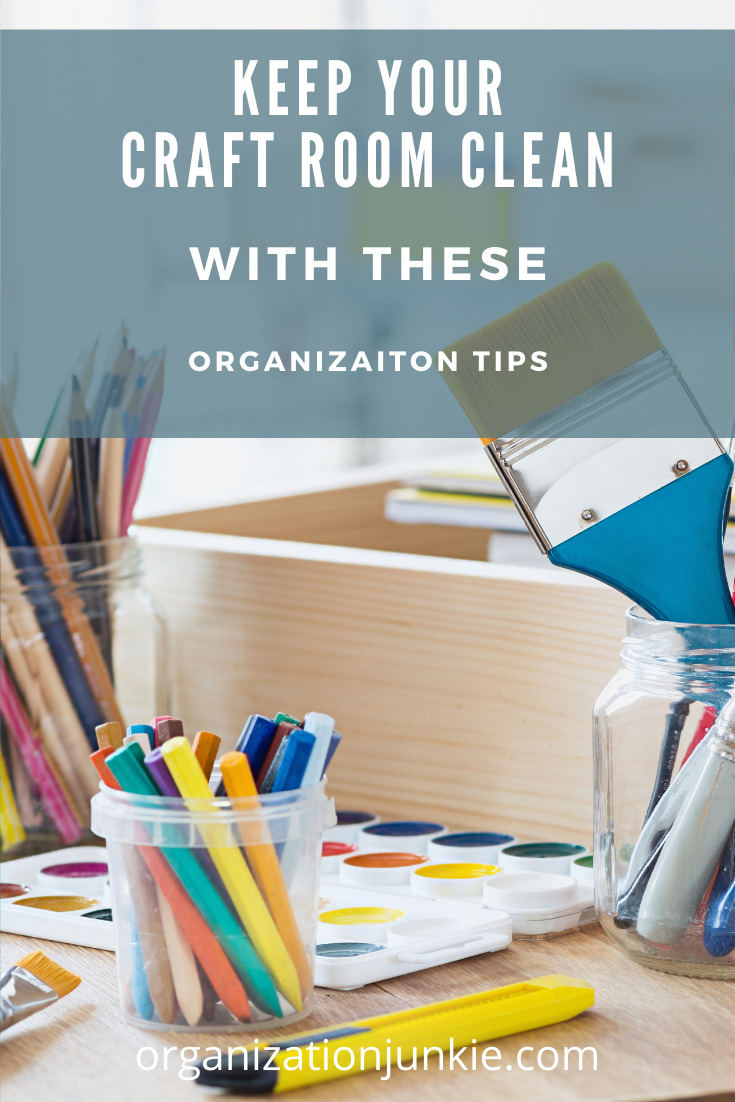
Ways To Organize A Craft Room
- I hate dealing with all that tape when it comes to the craft room. Put all the tape you have onto a tension rod and hang that up. It holds all the tape in one spot!
- Get plastic tubes that you can use to store all your buttons. If you have different colors or types of buttons, then you can get multiple tubes to hold them all in.
- Take a picture frame and turn it into a craft supply organizer. You can add pegboard, wire, or even corkboard on the inside of the frame to organize.
- Magnetized jars are great for storing small items. Use them to keep track of buttons, stickers, or whatever other type of items you may need to organize.
- Use a wire rack to store all your craft paper. Simply slide each type of paper into one of the slots on the rack and you’re good!
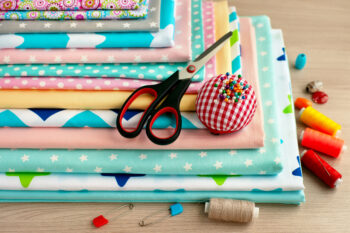
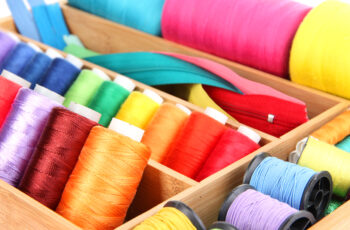
- This is such a clever idea! Use the side of a crib to store your fabric. You just slide each panel of fabric onto the dowels and you’re good! This is one of the cutest ways to organize a craft room.
- Make a great craft desk organizer out of cereal boxes. Simply cut the box into the shape of container you need and then decorate them.
- Use pegboard to create tons of storage in your craft room. You can even paint and decorate the pegboard so that it looks great!
- Put a dowel in the center of a Mason jar, wrap your ribbon or twine around it, and then cut a hole in the lid and pull the ribbon through it. Now you have a great way to store those kinds of items!
- Turn a spice rack into a great paint holder. It’ll hold those little squeeze bottles that are so common in crafting supplies!
- Take those mini Mason jars and turn them into fantastic pin cushions! You can also store your needles and other sewing items inside the Mason jar!
- Use PVC pipe to make a storage unit for scissors and tape. Slide the tape onto the pipe and use the sealed ends of the PVC to make a holster for the scissors.
- A craft tool caddy is a great idea, especially if you move around your craft room a lot. Keep your essentials in it for quick access.
- Make some effective drawer dividers out of cereal boxes! This keeps all your small items that roll around in your drawers neat and organized!
- If you have a laundry basket with holes in the side, then try this. Put ribbon or yard on a dowel in the inside of the basket and then weave them through the holes. Now you have some great storage!
- Here’s a great way to store your paint—by hanging it! Super convenient, easy to make, and it even looks great!
- Add some floating shelves to the walls of your craft room and it will not only add tons of space but also look great.
- A fold out table is essential, especially when you have a small craft room. You can use it when needed and tuck it away when not in use.
- Wooden crates are a super cute and creative way to organize and decorate your craft room at the same time. Paint them and touch them up if you want to, as well.
- Bins are also super helpful when it comes to craft room organization! You can use them in a cubby system or just have them sitting on the shelves or counters.
- I love how cute this idea is! Use an old armoire for a compact craft room. It doesn’t take up much space and can hold pretty much everything you need.
- Take an over the door hanger and use it to organize your craft supplies. Keep different supplies in each pocket for quick and easy access.
- Use a system of rods and hooks to hang scissors and other craft supplies. You can put the rods on the wall, the side of the desk, or anywhere else they fit.
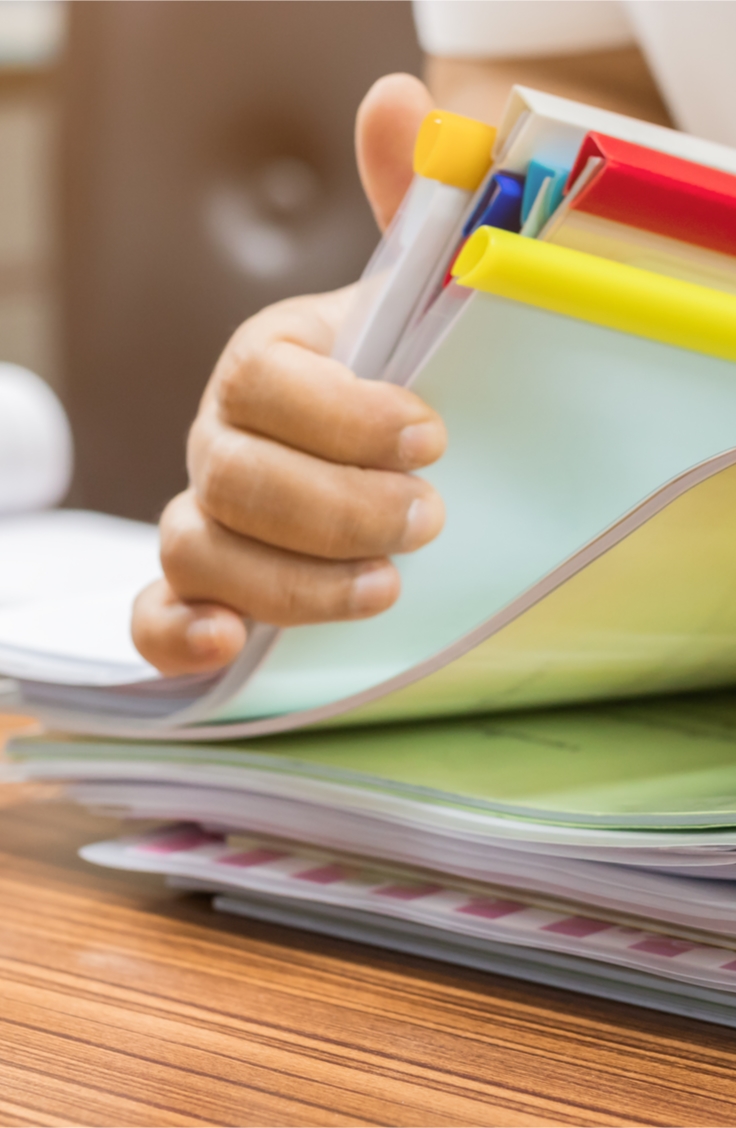
- When organizing your craft room, make sure to label everything. Label all the drawers, cabinets, shelves, etc. It will make things so much easier for you and anyone else using your craft room. This is one of my favorite ways to organize a craft room!
- Take magazine holders and turn them into great containers for all your paper! They’re super cheap and work really well.
- I love the idea of using a kitchen island as a craft table. It’s cute, convenient, and really helps things get organized.
- Another great way to get organized is by using a wheeled cart to hold your supplies. You can pull it around the room with you so you have all your most needed supplies!
- Take your rubber stamps and turn them into displays! You can store your stamps and turn them into decorations this way! How clever!
- Take an old shoe organizer, cut holes in all the containers except the bottom ones, and then use it to store your wrapping paper. Everything will fit right snugly in there!
- I love the idea of using a lazy Susan as an organization device. You can spin it around and get access to all you need without having to move stuff around.
I hope my tips on ways to organize a craft room help you! For more organization ideas, check out my post on ridiculously easy ways to organize kids’ art supplies.
What great ideas. Our craft room is actually our “formal” dining room (we aren’t very formal just have a large family..lol) that mostly my daughter (who lives with us with her son) has organized. I may not always agree with her way, but we work it out. My son had lived with us for a short time when he was getting divorced and has custody of his son. When he moved he left us his armoire and my husband made shelves inside on a bit of a slant to store our paper. There was even room below and a bit above for smaller items as well. The 2 drawers in the bottom we use for stickers, Dazzles and other decorative items. While stationed in Germany the 2nd time we lived in what is called Government Leased Quarters. These are buildings that usually not even the citizens of Germany or others would rent and the government leases them, then states that there is no sub-standard housing and take ALL of your housing allowance. The place we lived in was atrocious, wholes in the walls because the door frames were too small causing the wall to fall apart and you could look directly into the “tub” room and/or bathrooms. This is not up to standard and also had soap suds from the laundry room below us coming out of the wall in the “tub” room (they separate the toilet and bath tub rooms often over there and so that’s what I am talking about. In this particular apt it was right above the washing machine room below us. I had been there 1 or 2 nights and here water rushing from the tub room. They had a hook up for washer/dryer but we were not to use them as the building wasn’t hooked up for that many washers. Well coming out of the wall of the tub room is sudsy water and in my toilet room there is a head on top of the toilet (as you would see on a glass of beer). Reporting this was almost impossible as the guy who at that time was in charge wanted to talk to my husband and i told him that that was impossible because he was at work and wouldn’t be home until they were closed. He blamed people in the apts for has washer/dryers in the apts, etc but never the laundry room. Okay also since these are on the “economy” you have limited cabinet space in your kitchen so end up having to buy more, no closets, need Shrunks (often wardrobes as in the states and also wall units as we see here as well). We bought a shrunk and it is 11 ft long and about 7 ft tall. On one end is a cabinet with shelves. We now use it for other craft supplies, craft kits, finished projects such as greeting cards, pictures for a scrapbook, etc. Below this is another cabinet with 2 shelves and more supplies there. There is enough room on the end of the unit where a plastic rolling cart with about 4 or 5 drawers is places and unable to be seen. There is more we have done and for the most part doesn’t really take away from the use of the dining room making it look as though it is a craft room. We were given a large dining room table that belonged to dear friends of our from the military and we use it for crafting and then for holidays or just a big family dinner. I love many of the ideas of this writer and am going to try and use some of them as well as fit to my needs as well. I know I gave a lot of info on what we used but thought it may help those who have some of the things we do to think about using them as well. We have done some other things but these are a few of the ones I thought may be of interest. Also we do have a china hutch/buffet that we can also put some items in the drawers and side door areas to keep out of sight.
Love some if the ideas. It would help to see pics as well.